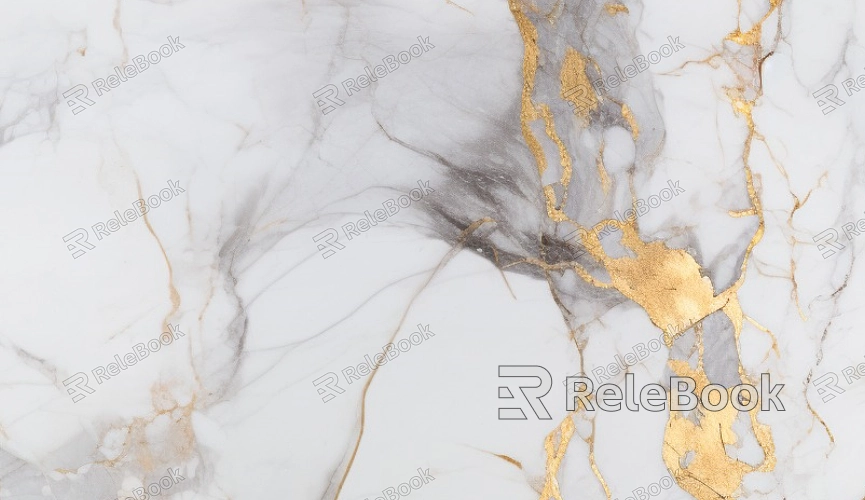
How to Create Sweet Home 3D Seamless Texture
In the world of 3D modeling and rendering, texture creation and application play a crucial role, especially in interior design and architectural visualization. As a 3D modeling and rendering designer, it's common to apply various textures to models to enhance the overall visual impact. Sweet Home 3D is a popular interior design software that allows users to create furniture arrangements and environmental designs in a 3D space. One of the key aspects of this process is the use of seamless textures. Seamless textures not only ensure continuity and consistency but also prevent unnatural seams during the mapping process. From my experience, creating seamless textures from 2D images and applying them to Sweet Home 3D is not a complicated task, but mastering a few key techniques and methods is essential. In this article, I'll share how to create high-quality seamless textures and successfully apply them to Sweet Home 3D models.

Choosing the Right Image Material
The first step in creating seamless textures is selecting the right 2D image material. Choosing high-resolution images with rich details will ensure the texture conversion does not lose quality. Common materials include natural textures such as wood, stone, and brick, as well as synthetic materials like wallpaper and carpets.
Resolution Requirements: High-resolution images preserve more details, which is particularly important for large-scale renders. Low-resolution textures can lead to blurry images.
Material Selection: Depending on your project, choose appropriate image materials. For interior design, common materials like wood, brick walls, and carpets make excellent seamless textures.
If you find it difficult or time-consuming to search for high-quality 3D textures or don't know where to start, you can easily access a variety of textures at Relebook. Visit https://textures.relebook.com/ to download stunning 3D texture resources.
Using Photoshop to Create Seamless Textures
You can transform a standard 2D image into a seamless texture in Photoshop using a few simple steps. Here are some common techniques:
Crop and Stitch: First, crop the image to the desired size. Then, use Photoshop’s stitching function to align the left and right edges of the image. Correct any seams in the image to ensure there are no visible boundaries in the horizontal or vertical directions.
Healing and Clone Tools: Use the Healing Brush or Clone Stamp tools to remove any imperfections or unnatural seams in the image, ensuring the texture transitions seamlessly.
Tiling Test: When creating a seamless texture, it's a good idea to test the image by tiling it in Photoshop to ensure the edges join smoothly without noticeable seams.
Enhancing Texture Details for Realism
Once your seamless texture is created, you can enhance its realism by adding finer details to the image. Subtle color variations or small imperfections can make the texture appear more natural.
Detail Enhancement: Slightly adjusting the brightness, contrast, or saturation can make texture details pop. Adding more detail will give the texture more depth when applied to Sweet Home 3D.

Texture Distribution: Adjusting the light and dark variations in the image can simulate how the texture will behave under different lighting conditions. Adding shadows or highlights can make the texture more realistic under real-world lighting.
Applying Seamless Textures in Sweet Home 3D
After creating the seamless texture, the next step is to import and apply it in Sweet Home 3D. Sweet Home 3D provides easy-to-use tools for importing and adjusting textures to fit your model.
Importing Textures: To import your seamless texture into Sweet Home 3D, go to the "Materials" section and choose the appropriate texture image to apply to your model.
Mapping Adjustments: Ensure that the texture aligns correctly with the surface of the model. You can use Sweet Home 3D’s adjustment tools to fine-tune the scale, rotation, and other attributes of the texture for a natural fit.
Real-time Preview: Sweet Home 3D offers a real-time preview function. After applying the texture, you can immediately check the result and make necessary adjustments to ensure the texture is well-coordinated with the model.
Optimizing Texture for Better Render Quality
After applying the texture, it's essential to optimize it for better rendering quality. Optimization can also help improve render speeds and ensure the image quality remains high.
Adjusting Resolution: Ensure the texture resolution is balanced. Too high a resolution may slow down the rendering process, while too low a resolution can cause texture distortion.
Using Texture Packs: In Sweet Home 3D, you can bundle textures and apply them to multiple models, saving time while ensuring consistency across the project.
Rendering Settings: Adjust rendering settings such as lighting and shadows to ensure the texture blends well in the final render.
Enhancing Textures Using External Plugins and Tools
To further enhance the texture effects in Sweet Home 3D, you can utilize external plugins or tools for optimization. For example, texture generators and detail-enhancement plugins can help you refine the texture details.
Plugin Support: Some third-party plugins support texture detail enhancement directly within Sweet Home 3D. These plugins can provide richer texture effects, such as adding finer surface details or reflective properties.
Professional Tools Assistance: You can also use other software like Blender or Substance Painter to refine the texture, and then import the final texture into Sweet Home 3D.
By following these steps, you can successfully create and apply seamless textures in Sweet Home 3D, enhancing the realism and depth of your interior designs. These techniques will not only help you work more efficiently but also significantly improve the quality of your final renders.
If you're looking for high-quality 3D models and textures for your projects, Relebook offers a wide range of resources to help you find exactly what you need. Visit Relebook Textures and elevate your design work today!

